Jul
29
2026
New Collaboration Center Notification Preview
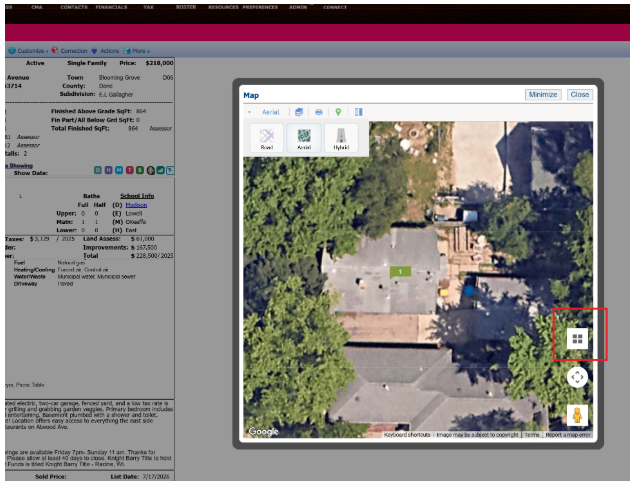
As part of the new updates that were rolled out for Paragon, there has be a change to the notification preview received from the Collaboration Center. This new view no longer contains the property image or address.
This change was made in response to blocking of images, and data being limited by certain email providers. If you click on the notification it will redirect you to the Listing in Paragon.